
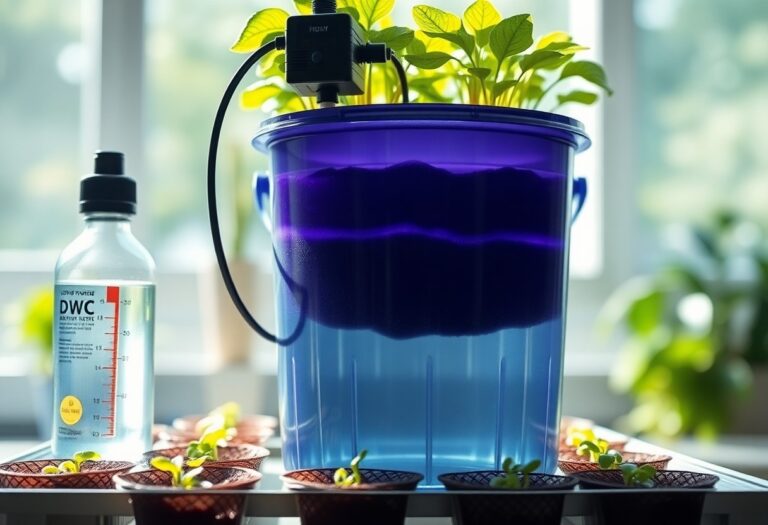
This guide will show readers how to create a 5-gallon bucket Deep Water Culture (DWC) system, an efficient method for hydroponic gardening. He, she, or they will learn the necessary components, including air pumps, net pots, and nutrient solutions, to ensure a thriving garden. This step-by-step approach will enable them to cultivate plants in a controlled environment, promoting rapid growth and higher yields. With clear instructions and safety tips, readers are well-equipped to launch on their hydroponic journey.
Key Takeaways:
- Choose appropriate materials, including a 5-gallon bucket, net pot, and quality air pump for effective water and nutrient delivery.
- Ensure proper net pot size and fill it with a growing medium to support healthy root growth while allowing access to nutrient solution.
- Maintain optimal water levels in the bucket, ensuring the water level is below the net pot to encourage roots to reach down into the nutrient-rich solution.
- Monitor pH and nutrient levels consistently to provide plants with the necessary conditions for growth and prevent nutrient deficiencies.
- Consider installing an air stone connected to the air pump to oxygenate the nutrient solution, promoting better root health and plant growth.
Essential Materials: What You Really Need
The 5-Gallon Bucket: Choosing the Right Type
Selecting the right 5-gallon bucket is pivotal for a successful DWC system. Food-grade plastic is the optimal choice, particularly high-density polyethylene (HDPE), as this type of material is safe for long-term use with plants. Buckets that are labeled as food-safe are less likely to leach harmful chemicals into the nutrient solution, ensuring healthier plants and safer yields. Color also matters; while most buckets are white or blue, darker colors can inhibit light penetration, which helps prevent algae growth, keeping the nutrient solution oxygen-rich and clean. It’s beneficial to assess the bucket’s design, particularly its lid. A solid lid is necessary to support net pots securely while preventing light from reaching the nutrient solution. Some buckets come with pre-drilled holes for air stones or air tubing, which can save time during setup. He or she might also find that buckets with sturdy handles enable easier transport, particularly when monitoring or adjusting water levels.Nutrient Solutions: Understanding Quality and Composition
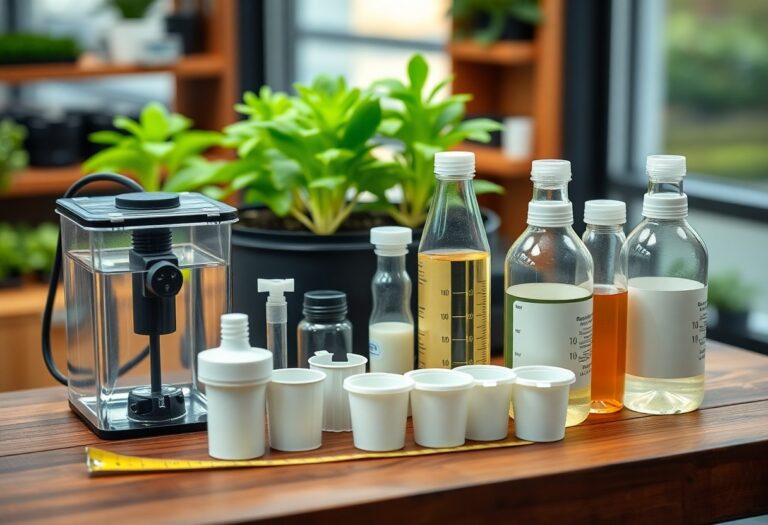
Choosing the right nutrient solutions is crucial in promoting vigorous plant growth in a DWC system. Hydroponic nutrients are available in various forms, including liquid and powder concentrates, specifically formulated for different plant types. Focusing on a balanced formula that contains crucial macronutrients—nitrogen (N), phosphorus (P), and potassium (K)—alongside micronutrients like calcium, magnesium, and iron will provide a well-rounded diet for the plants. Different growth stages may require specific ratios of these elements, so understanding individual plant needs can enhance overall cultivation success. In selecting nutrient solutions, observing the composition and the brand reputation is recommended. High-quality products should have well-defined results and customer reviews verifying their effectiveness. Manufacturers often provide information on the NPK level and additional micronutrients, which can streamline the process of selecting appropriate fertilizers. It’s crucial to follow the mixing instructions accurately to prevent oversaturation of nutrients, which could potentially harm plants.Oxygen and Air Pumps: Selecting Equipment for Optimal Growth
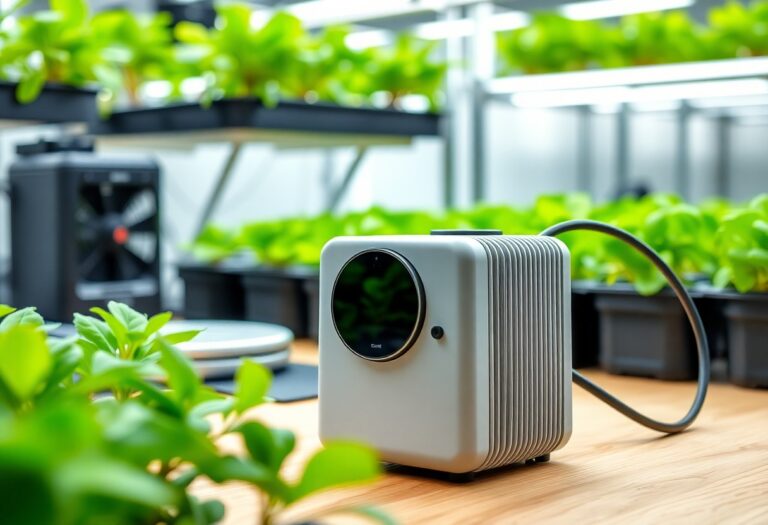
Air pumps and oxygenation are vital for the health of roots submerged in the nutrient solution. Without adequate oxygen, root rot can occur, which stifles growth and often leads to plant demise. Selecting an appropriate air pump involves considering the size of the system and the desired flow rate. A pump with at least 1 liter per minute (LPM) output per gallon is typically effective. Using multiple air stones can distribute air bubbles more evenly through the solution, maximizing oxygen intake for the roots. Maintenance of air pumps is straightforward but necessary. Regular cleaning of air stones ensures they remain free from mineral buildup that can obstruct airflow. Providing a consistent source of oxygen supports healthier and more vigorous root development which, in turn, translates to improved overall plant health and higher yields.Net Pots and Growing Mediums: Making the Right Choice
Net pots serve as the foundation for plant support within a DWC system. These pots are designed to allow roots to grow freely into the nutrient solution while providing stability at the surface. Choosing net pots with the right size and hole diameter is crucial; larger holes will enable sturdier roots to anchor through, while ensuring adequate water exposure. Often, 3 to 5-inch pots are suitable for most plants—providing ample room for root growth without being overly cumbersome. Choosing the right growing medium also influences plant health. Options such as expanded clay pellets, rock wool, or coco coir can be excellent choices, as they retain moisture while allowing proper drainage and aeration. The growing medium can also impact how easily roots access the nutrient solution; mediums that are too dense may restrict growth. Selecting the right combination of net pots and growing mediums paves the way for optimal root development and nutrient uptake, ultimately promoting robust plant growth.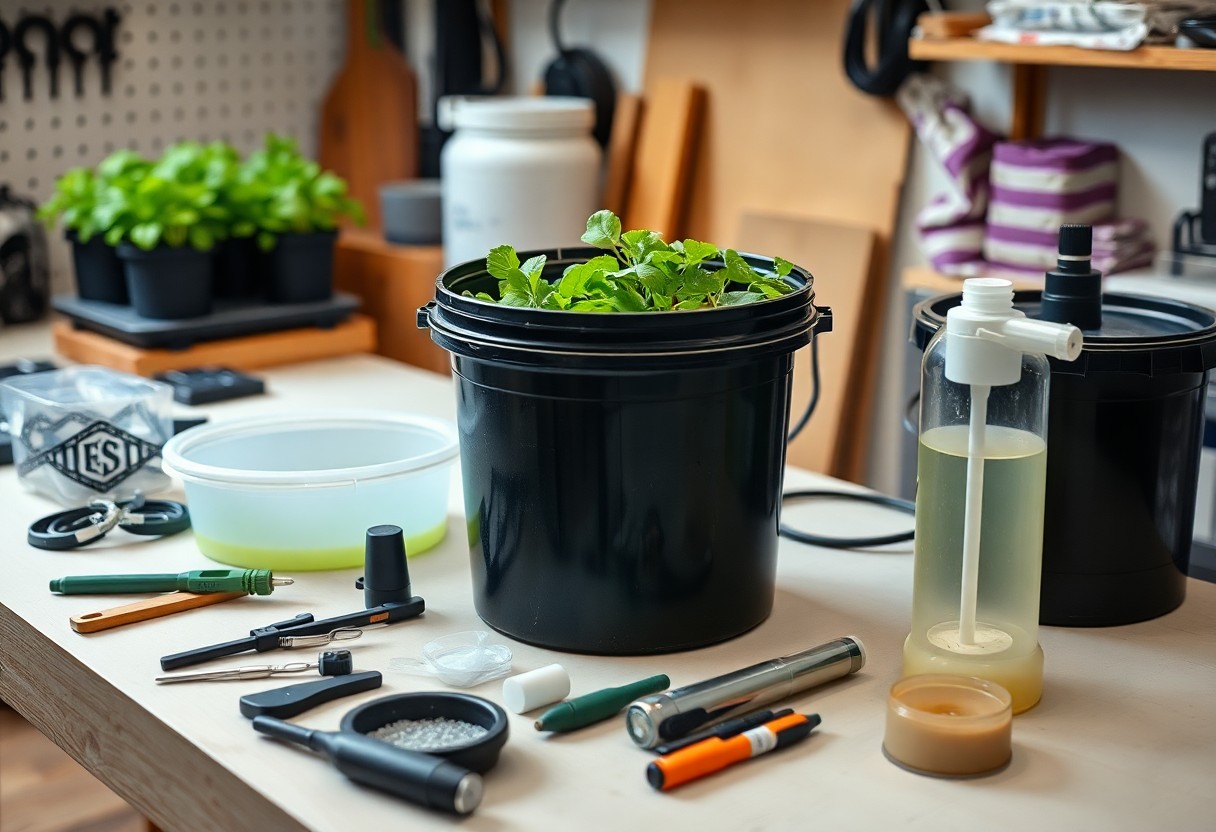
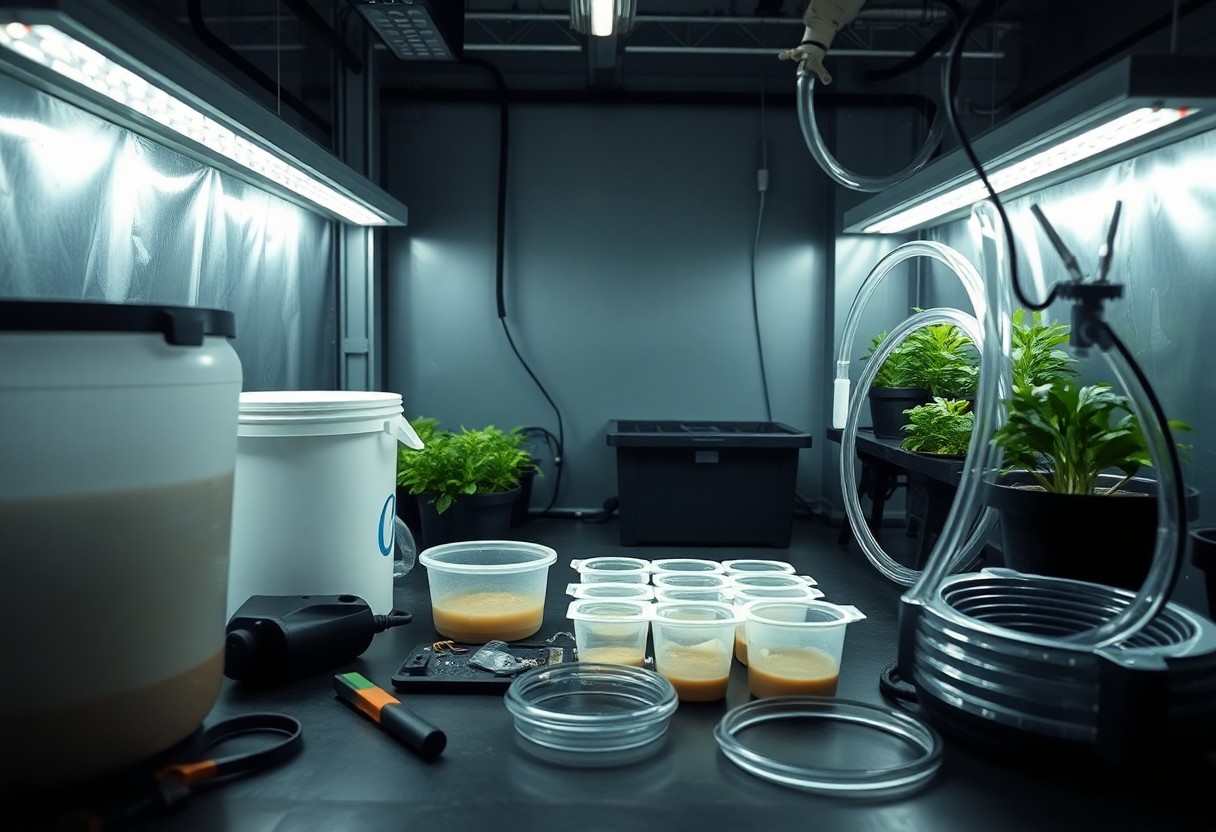
Setting the Foundation: Assembling Your Workspace
Finding the Perfect Location: Light and Temperature Considerations
Optimal conditions for a Deep Water Culture (DWC) system can significantly affect plant growth. A space that provides access to abundant light while maintaining the right temperature is paramount. Elements such as light exposure, proximity to water sources, and the ability to regulate temperature should guide the choice of location. If sunlight is scarce, utilizing grow lights can compensate, offering an excellent alternative for photosynthesis.
Temperature impacts nutrient uptake and plant health, so maintaining a range between 68°F and 78°F (20°C to 26°C) is crucial. Evaluate potential options with a temperature-controlled environment that helps prevent root rot and enhances nutrient absorption, thereby optimizing growth.
| Criteria | Details |
|---|---|
| Light Exposure | Aim for at least 12 hours of light per day, either natural or artificial. |
| Temperature Range | Keep temperatures between 68°F and 78°F (20°C to 26°C). |
| Accessibility | Ensure easy access to water, electricity, and storage for supplies. |
| Humidity Levels | Try to maintain humidity around 40-70% for optimal plant health. |
Preparing Your Workspace: Ensuring Cleanliness and Accessibility
Setting up a DWC system can be a messy process, so cleanliness plays a pivotal role in preventing contamination and ensuring a successful growing environment. Starting with a sanitized and organized workspace minimizes the risk of pests and diseases that can thrive in cluttered areas. All tools and containers should be cleaned with a diluted bleach solution, thoroughly rinsed, and allowed to dry before use. An accessible work surface facilitates a smooth assembly process and ensures all materials are within reach.
Creating a storage area for supplies also enhances efficiency. Organizing nutrient solutions, tools, and other equipment in clearly labeled containers helps avoid confusion and saves time. Consider using shelves for vertical space utilization when stacking ingredients and tools. A well-arranged workspace aids not only in the initial building of the DWC system but also makes ongoing maintenance a simpler task.
Safety Precautions: Best Practices to Avoid Mistakes
Safety in a DWC setup requires a few thoughtful practices to avoid mishaps. Wearing gloves when handling chemicals ensures protection from potential skin irritants, and maintaining a well-ventilated area prevents the accumulation of harmful fumes when mixing nutrient solutions. It’s wise to read all product labels for safety instructions and dosage recommendations, as using too concentrated a solution can lead to plant damage.
Having a first aid kit readily available in the workspace can be a lifesaver in emergencies. Equipping the area with a fire extinguisher is also advisable if exposed electrical equipment is present. Ultimately, diligent attention to safety can prevent accidents and ensure a smooth growing process.
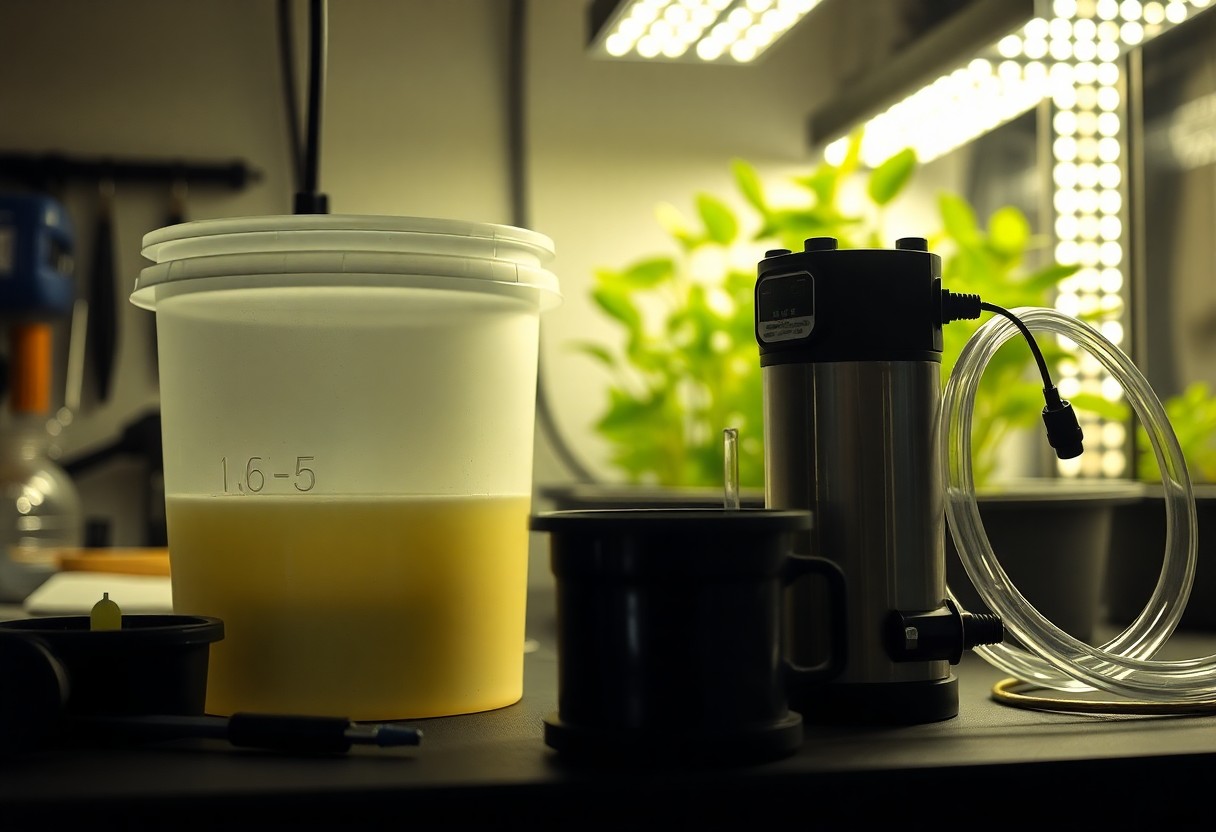
Water and Nutrients: Crafting the Perfect Solution
Establishing a successful Deep Water Culture (DWC) system hinges on the careful balance of water and nutrients. The nutrient solution not only provides important minerals required for plant growth but also supports their overall health and vigor. Understanding how to mix these nutrients effectively can lead to bountiful harvests and thriving plants. Properly monitored, a DWC system can yield impressive results when it comes to both growth speed and quality.
Mixing Nutrients: Step-by-Step Guide to Achieving Balance
To create the perfect nutrient solution for a DWC system, one must carefully consider the specific needs of the plants being grown. Different plants have varying nutrient requirements based on their growth stages. Below is a guide to mixing nutrients:
| Step | Description |
|---|---|
| 1 | Measure the water volume in the 5-gallon bucket to determine how much nutrient mix is needed. |
| 2 | Select a high-quality hydroponic nutrient solution designed for DWC systems. |
| 3 | Calculate the appropriate dilution rate based on the manufacturer’s instructions. |
| 4 | Add the nutrients gradually, stirring continuously to prevent clumping. |
| 5 | After all nutrients are mixed, let the solution stand for at least 30 minutes before placing it in the DWC system. |
Measuring pH Levels: The Key to Nutrient Absorption
Maintaining the right pH level is important for maximizing nutrient absorption in plants. In a DWC system, the optimal pH range typically falls between 5.5 to 6.5. Deviating from this range can lead to nutrient lockout, inhibiting the plants from effectively taking up important minerals. The immediate effects of incorrect pH levels can include yellowing leaves, stunted growth, and, in severe cases, plant death.
Regular monitoring of pH levels ensures that any imbalances can be addressed swiftly. Gardeners often utilize pH test strips, meters, or kits to gauge acidity and basicity accurately. Adjustments can be made using pH up or pH down solutions, which can help restore balance and promote optimal nutrient uptake. Understanding the needs of their specific plants will further guide their monitoring process.
Troubleshooting Nutrient Issues: Common Pitfalls and Solutions
Even with meticulous planning, nutrient issues can arise in a DWC system. Heedful observation can help identify signs of nutrient deficiency or toxicity, often manifesting as discoloration, curling leaves, or stunted growth. Each symptom corresponds to specific nutrient needs or oversaturation, making it important to diagnose issues promptly. Keeping a record of nutrient mixes and growth responses will aid in troubleshooting future challenges.
Adjusting nutrient concentrations may alleviate some problems, but they should be approached with caution. For instance, a sudden increase in nutrient levels can shock the plants, leading to even more serious outcomes. Phasing in changes gradually enables the plants to adapt while fostering a more healthy growth environment. Continued education and adaptation to the plants’ specific needs will ultimately result in a more fruitful DWC experience.
Building the System: Constructing Your DWC Setup
Assembling the 5-Gallon Bucket: Tools and Techniques
He should start by gathering the necessary tools to make the assembly process smooth and efficient. A power drill with a hole saw attachment will be needed to create openings for the net pots. Cutting silicone sealant is imperative for ensuring watertight seals and preventing leaks. An adjustable wrench will help secure fittings, while a utility knife will be useful for trimming edges after the holes are made. Having these tools at hand will streamline the assembly, leading to a more robust and reliable setup.
She must ensure that the bucket is clean and dry before starting any construction. The first step involves measuring and marking the positions for the net pots on the bucket lid. He should typically space them evenly to provide adequate room for root development and airflow. Next, using the drill outfitted with the hole saw, he will make precise cuts for each net pot. Ensuring smooth edges will aid in the pot’s stability. Sealing the bucket lid with silicone around the cuts can also prevent water leakage.
Installing the Air Pump and Stones: Ensuring Optimal Oxygenation
To maintain healthy plant growth, she will need to install an air pump and stones into the system. He should begin by choosing a quality air pump that is capable of delivering sufficient air volume based on the number of plants growing. Connecting the pump to air stones with flexible tubing creates a steady flow of oxygen, promoting vigorous root development and enhancing nutrient absorption for thriving plants.
The placement of the air stones in the bottom of the bucket plays a significant role in maximizing oxygenation. He must ensure they lay flat on the bottom and are completely submerged in the nutrient solution. This position guarantees optimal bubble dispersion throughout the water, resulting in a dynamic environment that supports healthy root structures. Consistently checking the operation of the pump minimizes the risk of stagnant water, which can lead to root rot.
Introducing Net Pots: Placement and Stability Tips
Net pots serve as the foundation for holding the plants while allowing their roots access to the nutrient-rich water. She must place the pots securely in the openings created earlier in the bucket lid. Ensuring a snug fit is imperative as it prevents light from reaching the roots and reduces the likelihood of algae growth. He should use a growing medium such as clay pebbles, which provides excellent drainage while supporting the plants. Additionally, placing washers beneath the net pots can add stability, keeping them in place as they grow.
- Net pots create an optimal growing environment for developing plants.
- Growing medium, such as clay pebbles, aids in drainage.
- Ensuring stability by using washers increases protection against accidental pull-outs.
Recognizing the importance of plant support can help she ensure successful growth within the DWC setup. Placing net pots correctly not only prevents potential mishaps but also contributes to the overall success of the growing process.
- Light blockage from net pots can impede root health.
- Stability is vital to prevent root disruption during the growth phase.
- Optimizing growth with proper plant support leads to healthier yields.
Recognizing the stabilizing role of net pots in the DWC system contributes to the overall effectiveness of the setup. A secure and stable growing environment fosters robust growth, ultimately leading to a fruitful harvest.
Plant Selection and Prepping: Choosing Your Green Allies
Best Plants for DWC Systems: What Grows Well?
Within the realms of DWC systems, certain plants thrive remarkably well due to their quick growth rates and adaptability to high oxygen levels. Leafy greens such as lettuce, spinach, and kale are excellent choices, often maturing in as little as four to six weeks, making them ideal for novice growers seeking rapid rewards. For those looking to venture into fruiting plants, strawberries, tomatoes, and peppers also perform admirably, offering a delightful assortment of produce directly from a simple bucket setup.
Herbs enjoy the DWC environment as well, with basil, cilantro, and mint showcasing lush growth and strong flavors. The ability of these plants to efficiently utilize the nutrient-rich solution in a DWC system positions them as valuable additions to any indoor garden. Picking the right varieties ensures not only a successful yield but also draws upon the full benefits of this hydroponic approach.
Propagation Techniques: Starting Your Seeds or Cuttings
Seed germination can be performed easily in starter plugs or a seed tray filled with moist, sterile media. After a few days, when the seeds sprout, they can be carefully transferred to the DWC system once they develop sturdy roots. Alternatively, for those who prefer cloning, selecting healthy cuttings from existing plants can be an effective strategy. Utilizing a cloning gel can enhance the success rate by protecting the cutting’s exposed tissue.
Moreover, maintaining the appropriate humidity and temperature is vital during the propagation phase to ensure optimal growth. A temperature range of 70-75°F (21-24°C) along with high humidity levels around 70-80% creates a perfect environment for young plants to establish roots. Once they are a few inches tall and have developed a robust root structure, they are ready for transfer to the DWC system.
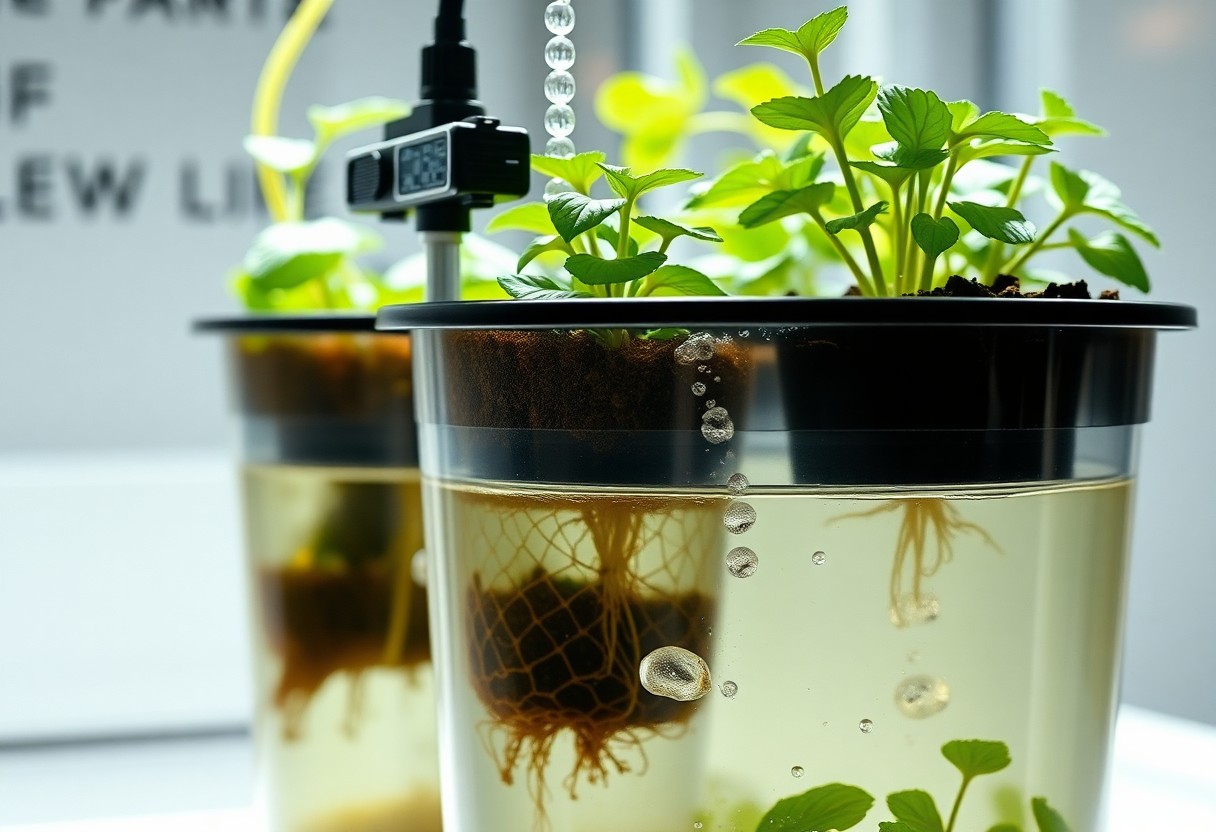
Transplanting to DWC: Tips for a Smooth Transition
Transitioning young plants from soil or other media to a DWC system requires caution and precision. To facilitate this process, gently remove the seedlings from their initial growing medium, being careful not to damage the roots. It’s beneficial to rinse the roots under water to eliminate residual soil that could introduce unwanted pathogens into the DWC system. After that, direct placement of the young plants into a net pot filled with hydroton or clay pebbles can provide the necessary support.
- Gently remove the seedlings from their original medium.
- Rinse roots to prevent soil contamination.
- Place plants in net pots with hydroton for support.
- Utilize a pH balanced nutrient solution in the DWC setup.
- Monitor water levels and provide adequate aeration.
Perceiving these tips can lead to a seamless experience as young plants acclimatize to their new aquatic home. Ensuring the water temperature is in the range of 68-72°F (20-22°C) promotes root health while also configuring the DWC system to provide sufficient aeration serves to benefit the overall health of the plants.
- Maintain optimal temperatures for root growth.
- Provide sufficient aeration for the water solution.
- Monitor nutrient levels regularly for healthy growth.
- Keep an eye on plant health post-transplant.
- Be flexible with light availability to ensure robust growth.
Perceiving the right balance between these elements can greatly enhance the success of transplanting, ensuring that plants adapt well to the dynamic DWC environment. Through careful planning and execution, any grower can enjoy a fruitful endeavor in their DWC system journey.
Monitoring and Maintenance: Keeping Your DWC System Thriving
Routine Check-ups: Ensuring Water Levels and Nutrient Concentration
The effectiveness of a DWC system heavily relies on consistent monitoring of water levels and nutrient concentration. He should schedule check-ups at least once a week to keep these critical factors in balance. Water levels should remain adequate, typically around 1 inch below the net pot to allow roots access to oxygen while submerging root tips. When checking the nutrient solution, using a calibrated EC meter can help gauge nutrient concentration, ensuring it stays within a range of 1.5 to 2.5 mS/cm for most crops.
Regular adjustments may be necessary if the nutrient levels fluctuate. A drop in concentration can signal water loss due to evaporation, nudging him to refill with freshwater mixed with nutrients. In contrast, a sudden spike could arise from rapid plant uptake, indicating the need for a nutrient change or dilution of the solution. A continuous logging of these readings helps track trends and facilitate informed decisions.
Pest Management: Proactive Strategies for Common DWC Issues
Efficient pest management forms an integral piece of maintaining a thriving DWC system. He should routinely inspect plants for signs of pests, including aphids, spider mites, and fungus gnats. Early detection can prevent an infestation that might disrupt the entire system. Using organic pest control methods, such as neem oil or insecticidal soap, ensures a safe approach to combating these unwanted visitors.
Implementing preventative measures strengthens the system against pests. Practices such as maintaining cleanliness around the DWC setup, ensuring good airflow, and checking for any signs of decay help keep pest populations at bay. Furthermore, introducing beneficial insects like ladybugs or predatory mites can create a natural balance, assisting in the management of common pests without the use of harmful chemicals.
Adjusting Light and Temperature: Creating the Ideal Growing Conditions
Proper light and temperature are pivotal in supporting plant growth within the DWC system. Light intensity, duration, and the spectrum can greatly influence plant metabolism. Ideally, plants should receive around 12 to 16 hours of light per day using grow lights suited for their specific growth stage. A temperature range of 65-75°F enhances nutrient uptake, while extreme temperatures can hinder growth and lead to stress.
Light and Temperature Recommendations| Factor | Recommendation |
|---|---|
| Light Duration | 12-16 hours per day |
| Light Type | Full spectrum LED or fluorescent grow lights |
| Ideal Temperature Range | 65-75°F (18-24°C) |
Adjusting the light setup and maintaining optimal temperatures can have lasting effects on plant health. Keeping a thermometer and light timer can simplify this process, ensuring that plants receive a consistent environment conducive to growth.
Light and Temperature Adjustment Tips| Light Adjustment | Temperature Management |
|---|---|
| Rotate plants for even light exposure | Use fans or a heater to stabilize temperature |
| Height adjustment of lights | Shade cloths for cooling during extremes |
The Growth Journey: Tracking Your Plants’ Development
Observing Changes: What to Look for in Growth Patterns
The initial phase of plant growth is marked by distinct developmental stages, where subtle changes can indicate a healthy trajectory. For instance, during the germination stage, signs of life such as the emergence of the first leaves, known as cotyledons, indicate that the seedling is on the right track. As she observes her plants, she should pay close attention to the coloration of the leaves; vibrant green hues signal adequate nutrient uptake, while yellowing can be a red flag for nutrient deficiencies.
Adapting Practices: When and How to Adjust Your Methods
As growth progresses, she may find the need to adapt her care regimen based on the specific requirements of her plants. One clear sign of needing adjustment is if the plants exhibit signs of nutrient burn, which occurs when the nutrient levels in the solution are too high. In such cases, diluting the nutrient mixture or performing a partial water change can help bring the levels back to an optimal range.
Records of growth rates, water consumption, and nutrient changes can provide valuable insights for refining her methods. Keeping a journal to document her observations can help track these progressions and correlate them with specific environmental or nutrient changes. This not only helps in troubleshooting but also builds experiences that will guide her future gardening endeavors.
Anticipating Harvest Time: Signs of Maturity
Troubleshooting Troubles: Overcoming Common DWC Challenges
Recognizing Symptoms of Distress: What’s Wrong with Your Plants?
Signs of distress in plants can vary widely, but there are common indicators that growers should watch for. Yellowing leaves, especially older leaves, can signal deficiencies in imperative nutrients, particularly nitrogen. On the other hand, browning or wilting leaves may suggest overwatering or root rot, often resulting from oxygen deprivation in the water. Growers should also be aware of leaf curl or spots which may indicate pest infestations or diseases. Observations made early can lead to quick solutions, ensuring that small problems don’t morph into significant setbacks.
Furthermore, an unsteady growth rate may point to issues that growers should not ignore. If plants are stunted or excessively leggy, the problem could lie in inadequate light levels or poor nutrient balance. Many variables play a role, and compiling clues from the plants’ appearance is imperative for accurate diagnosis. Recognizing and understanding these symptoms helps growers intervene promptly, improving the chances of recovery.
Addressing Common Issues: Fast Fixes for Frequent Problems
Multiple issues can emerge in a Deep Water Culture system, but there are straightforward solutions to many of them. For instance, if root rot is detected, decreasing water temperature below 68°F can inhibit fungal growth. Adding beneficial bacteria can also help promote a healthier environment for the roots. Adjusting the nutrient solution is another immediate fix; if leaves are yellowing, a simple addition of nitrogen can encourage greenery. Additionally, ensuring the plants have ample access to light, about 12-18 inches away, can resolve stunted growth and leggy stems.
In cases of nutrient lockout, which occurs when nutrient uptake is blocked due to pH imbalance, growers should check and adjust the pH level frequently, targeting a range between 5.5 and 6.5. Flushing the system with clean water mixed with a balanced nutrient solution can release the accumulated toxins that are preventing proper nutrient absorption. Implementing these adjustments promptly can lead to significant improvements in plant health and vitality.
Evaluating the System: Making Improvements for Future Growth
Periodic evaluations of the DWC setup can enhance its effectiveness and yield. After addressing immediate issues, growers should reflect on the system’s design and performance. Analyzing water quality, oxygen levels, and light exposure can unveil potential areas for enhancement. For example, installing an air pump with a larger capacity or upgrading to a more energy-efficient lighting system could drastically improve plant growth and resilience.
Documentation of all changes and results provides valuable insights into what adjustments work best for specific plant strains or growth phases. With each cycle, they refine their techniques, leading to a more successful DWC experience. Such assessments prepare growers for challenges ahead, promoting an adaptive skill set imperative for thriving in hydroponics.
Continuing to assess the system regularly will enable growers to identify trends and make educated predictions about future crops. Gathering data results in a continual learning process, creating a feedback loop where improvements can lead to more fruitful harvests. This proactive approach ensures that growers are less likely to encounter severe problems down the road.Summing up
Presently, individuals interested in hydroponics can implement a 5-gallon bucket DWC system with relative ease by following the step-by-step guidelines. This DIY approach not only allows them to cultivate a wide variety of plants but also empowers them to manage their nutrient delivery and water levels effectively. By understanding the specific components needed for the system, such as the air pump, air stone, and net pots, they equip themselves with the knowledge to optimize plant growth and health.
In short, building a 5-gallon bucket DWC system serves as an accessible entry point into hydroponic gardening. By adhering to the outlined steps, they can create a sustainable environment conducive to thriving plants. As they grow more experienced in maintaining their DWC setup, they will likely gain confidence in expanding their methods and exploring more advanced hydroponic techniques. This journey not only fosters a love for gardening but also enhances their understanding of plant biology and nutrient management.
FAQ
Q: What materials do I need to build a 5-gallon bucket DWC system?
A: To construct a 5-gallon bucket DWC (Deep Water Culture) system, you’ll need the following materials: a 5-gallon bucket with a lid, a net pot, an air pump, an air stone, flexible tubing, hydroponic nutrients, pH testing kit, and a growing medium (like clay pellets or rockwool). Additionally, ensure you have access to water and a location with sufficient light for your plants.
Q: How do I set up the air pump and air stone?
A: Start by placing the air stone at the bottom of the 5-gallon bucket. Connect one end of the flexible tubing to the air pump and the other end to the air stone. Secure the air stone to the bottom with a little weight if necessary to ensure it stays submerged. Finally, plug in the air pump to start aerating the water in the bucket.
Q: How do I prepare the nutrient solution for my DWC system?
A: Fill the 5-gallon bucket with water, leaving some space at the top to accommodate the net pot. Mix the hydroponic nutrients according to the manufacturer’s instructions, ensuring the solution is well-blended. You should also check the pH level using a testing kit, aiming for a range of 5.5 to 6.5 for optimal nutrient uptake.
Q: What plants are suitable for a 5-gallon bucket DWC system?
A: Many plants thrive in a DWC system, especially leafy greens and herbs like lettuce, spinach, basil, and mint. Additionally, you can grow fruiting plants such as tomatoes, peppers, and strawberries, though they may require more attention due to their larger size and nutrient needs.
Q: How often should I change the nutrient solution in my DWC system?
A: It is generally advisable to change the nutrient solution every two weeks. This helps to prevent nutrient imbalances and ensures the plants have access to fresh, clean water. Before changing the solution, check the pH and nutrient levels, adjusting as necessary to support plant growth.
Q: How do I manage the water level and oxygen in the DWC bucket?
A: Keep the water level in the bucket high enough to submerge the bottom of the net pot, allowing plant roots to reach the nutrient solution. Ensure that the air pump is always functioning, as this aerates the water and provides important oxygen to the roots. Regularly check the air stone for clogs or mineral buildup, replacing it if necessary.
Q: What common issues should I look out for when using a DWC system?
A: Some common issues to monitor include root rot, which can happen if there’s not enough oxygen in the water, and nutrient deficiencies or excesses, which manifest as changes in leaf color or growth patterns. It’s important to maintain clean equipment, regularly check pH and nutrient levels, and ensure the air pump operates continuously to avoid these problems.

Leave a Comment